What to know about sashiko embroidery in general
What materials do I need for my Sashiko project? Sashiko is a traditional method of reinforcing fabric with stitching patterns, particularly with white thread on indigo fabric. Today, the emphasis is mainly on the decorative element, and Sashiko is applied to clothing and textiles, such as bags, cushions, and shoes.
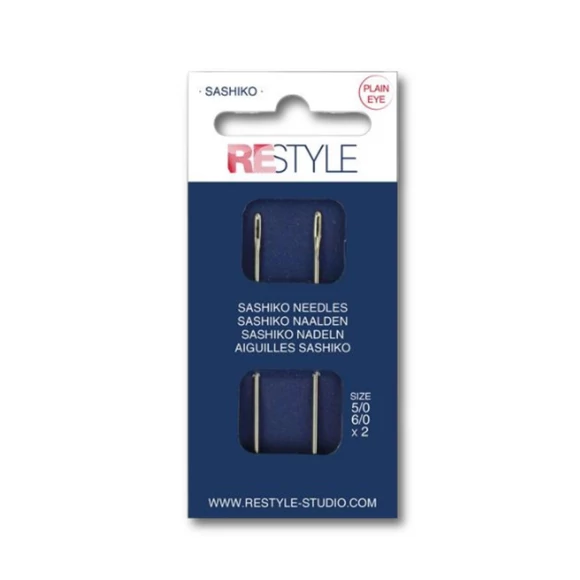
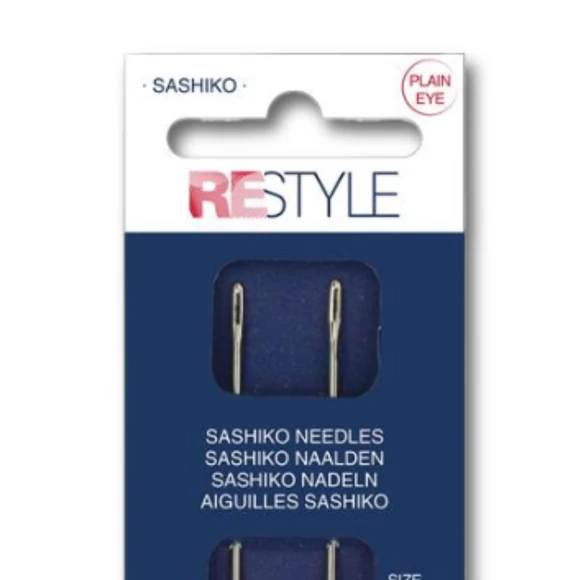
- Sashiko Needle:
Depending on the design of your project, you will need either long or short Sashiko Needles. I recommend ReStyle Sashiko needles >>>
- Short Sashiko Needles are used to make round shapes.
- Long Sashiko Needles are used to make straight lines. The length of the needle makes it easier to stitch several stitches in one go.
- Sashico fabric
Traditionally, a dark blue evenweave fabric made from linen or cotton is used, which tends to be heavier than broadcloth. We recommend opting for evenweave fabrics instead of tightly woven plain fabrics. The open structure of evenweave allows for easier needle passage through the fabric layers.
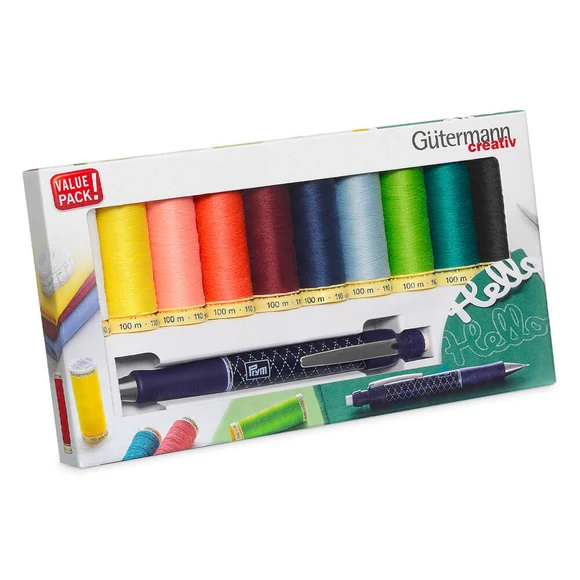
- Sashiko Thread
Traditionally Sashiko is made with a tightly twisted heavy-weight cotton thread. I recommend for example Candy Floss or DMC embroidery Threads.
- Sashiko Patterns
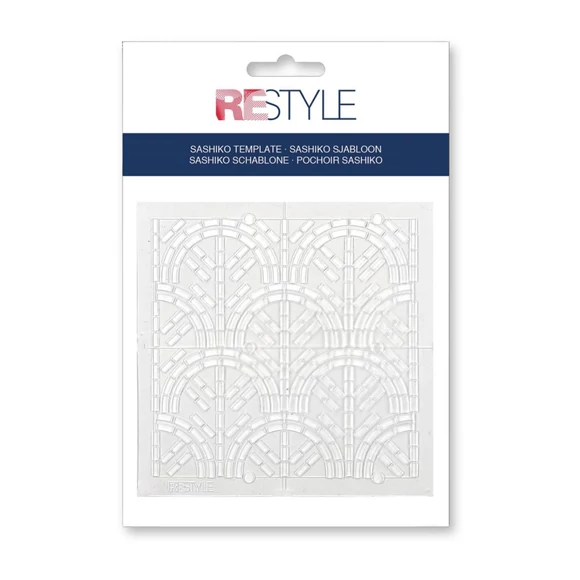
The inspiration for Sashiko designs usually come from nature. You can recognize rippling water, clouds, and flowers. You can also find stunning geometric designs with interlocking lines, circles, stars, squares, and triangles. You often see repeating designs in a project. We offer plastic Sashiko patterns >>
Plastic Shasiko templates are a practical tool for outlining sashiko patterns on fabric. To use them, simply place the template on the desired area of the fabric and secure it in place. Using a fabric marker or chalk, trace the design onto the fabric through the openings of the template. This method ensures precision and consistency in the pattern, making it easier to follow while stitching. Once the design is outlined, the template can be removed, allowing the artisan to proceed with the sashiko embroidery, creating beautiful and intricate designs with ease.
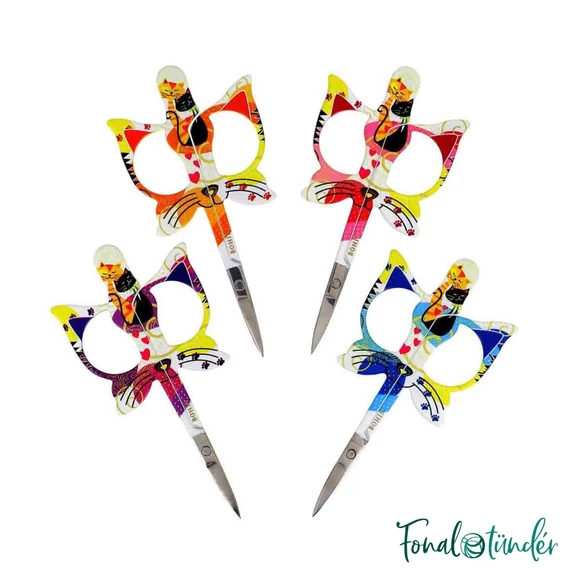
- Embroidery Scissors
You’ll use the embroidery scissors to cut of all your threads.
- Water-erasable pencil
When using a ruler, you may prefer to use a water-erasable pencil to draw the pattern on your fabric.

|

|
How to Sashiko stitch step by step instructions
After transferring your fabric you are ready to start Sashiko Stitching. A few basic guidelines you can follow during your stitching:
- With Sashiko stitching you basically make "running stitches".
- Sashiko stitches are always longer on the top of the fabric than they are on the backside.
- Stitch as evenly as you can. Whatever length you make your top stitch, make all your top stitches that length, and whatever length you make your backside stitches, make all your backside stitches that length. A rule of thumb for the length of your stitches is to make backstitches 1/3 the length of the top stitches. Stitch about 2-3 stitches per cm (~4 to 8 per inch).
- Ensure your top stitches do not cross each other at a crossing of lines.
- Work lines one by one. Start in one corner and work towards the other side of the fabric. Go back on a new line towards the original side.
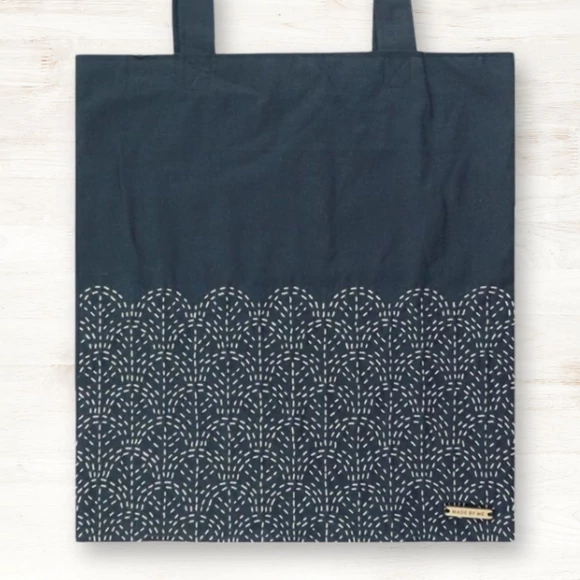
What you’ll need for this sashiko bag project
What you’ll need to make the bag:
Dimensions
Pattern pieces:
The dimensions below include a 7 mm seam allowance.
- Outer fabric: 36 x 42 cm (x2)
- Lining fabric: 34.5 x 40.5 cm (x2)
- Straps: 7 x 73 cm (x2)
Step 1: Sashiko embroidery
Cut 2 pieces of outer fabric, each 36 x 42 cm. Embroider the outer fabric with a Sashiko pattern.
Step 2: Sewing the outer bag
Place the outer fabric panels right sides together and sew along the side seams and bottom to create a pouch. Clip the corners. Turn the bag right side out.
Step 3: Sewing the lining
Cut 2 pieces of lining fabric, each 34.5 x 40.5 cm. Place the lining panels right sides together and sew along the side seams and bottom to create a pouch. Clip the corners. Do not turn inside out — the right side stays on the inside.
Step 4: Making the bag straps
Cut 2 strips of outer fabric (or for example, your old jeans), each 7 x 73 cm. Fold the strip in half lengthwise, then fold in the edges 7 mm on both sides. Press and secure with fabric clips or pins. Topstitch along the edge(s): one or two rows of stitching, whichever look you prefer.
Step 5: Assembling the bag
You now have two ‘pouches’. Outer bag: Fold the top edge 3 cm to the inside and press. Lining: Fold the top edge 3 cm to the outside and press. Place the lining pouch inside the outer bag.
Step 6: Attaching the straps and sewing
Insert the straps between the lining and the outer bag. Sew all the way around the top edge of the bag. For extra reinforcement, you can secure the straps with an extra line of stitching — for example, by sewing a cross.